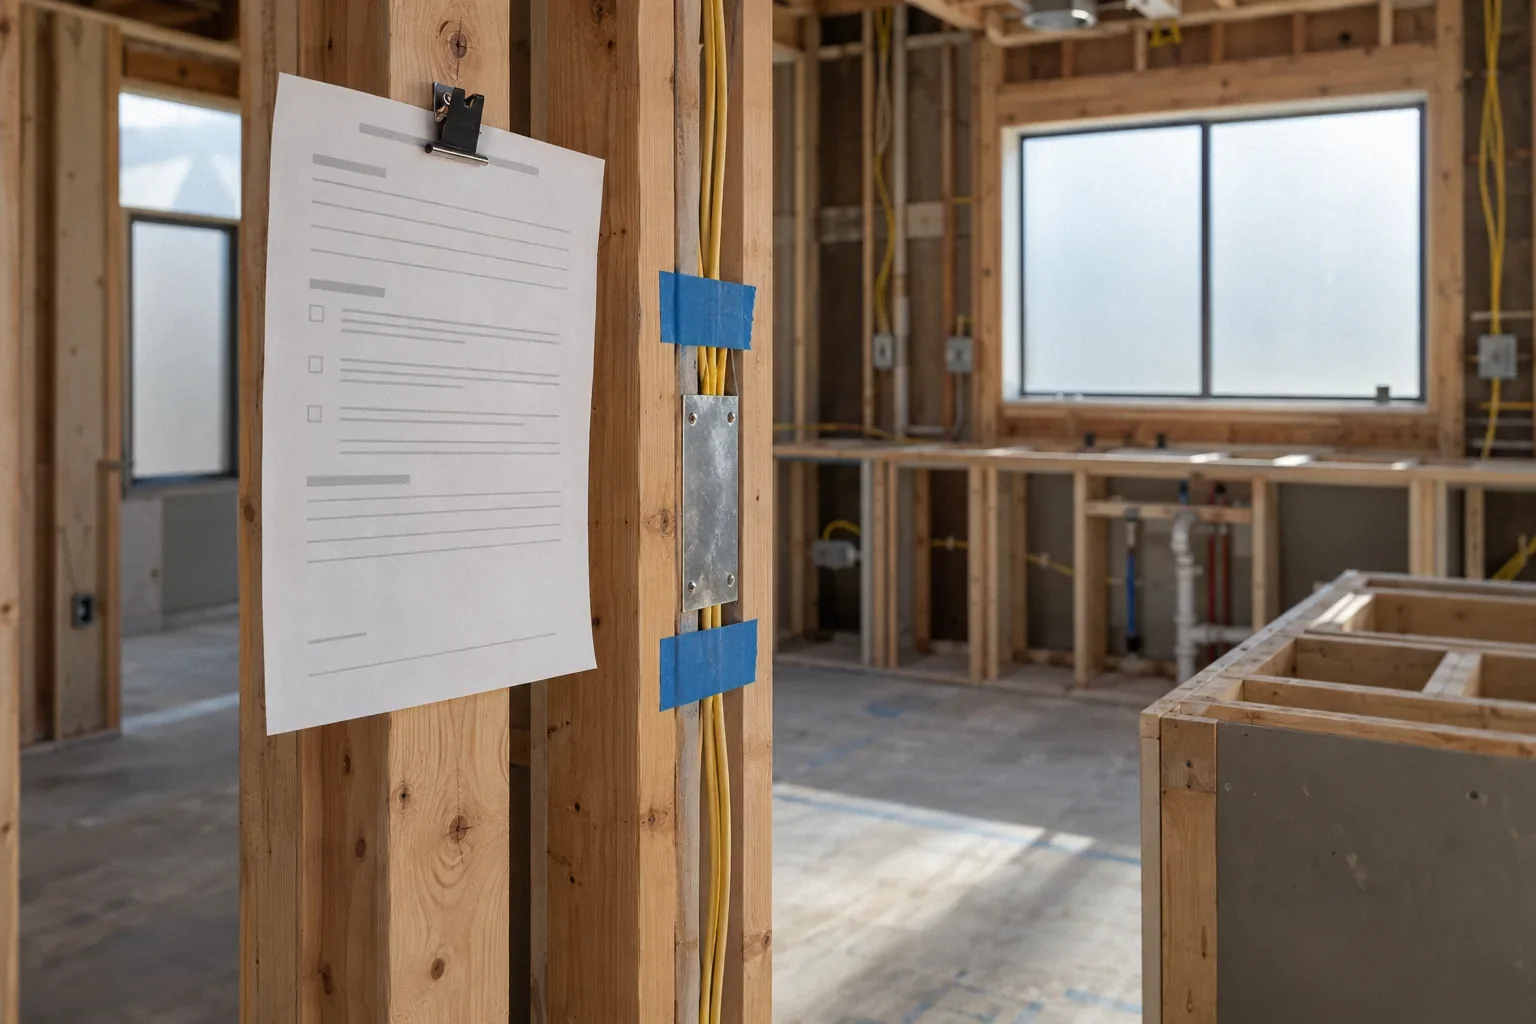
Short answer: most permitted kitchen and bathroom remodels pass through a rough inspection of framing, plumbing, electrical, mechanical and gas work before walls are closed. Where walls or ceilings are opened at the building's exterior, there is usually an insulation inspection. Shower rebuilds may need an underlayment or shower pan inspection where the department requires one, and some departments inspect drywall only for fire-rated assemblies. A final inspection comes when everything is installed. Additions add foundation and framing stages. The exact sequence comes from your permit and your department. For example, Pleasanton's kitchen handout lists rough frame, insulation, drywall (fire-rated assemblies only) and final (Pleasanton JLA 01.26). An older example, Contra Costa County's bathroom brochure written under the 2022 codes, lists rough plumbing and electrical, underlayment and shower pan test where applicable, and final (Contra Costa County). It shows local practice; confirm your department's current requirements.
This is general information current to 3 October 2026, not legal advice. Inspection stages vary by department and scope.
Why the sequence matters to owners
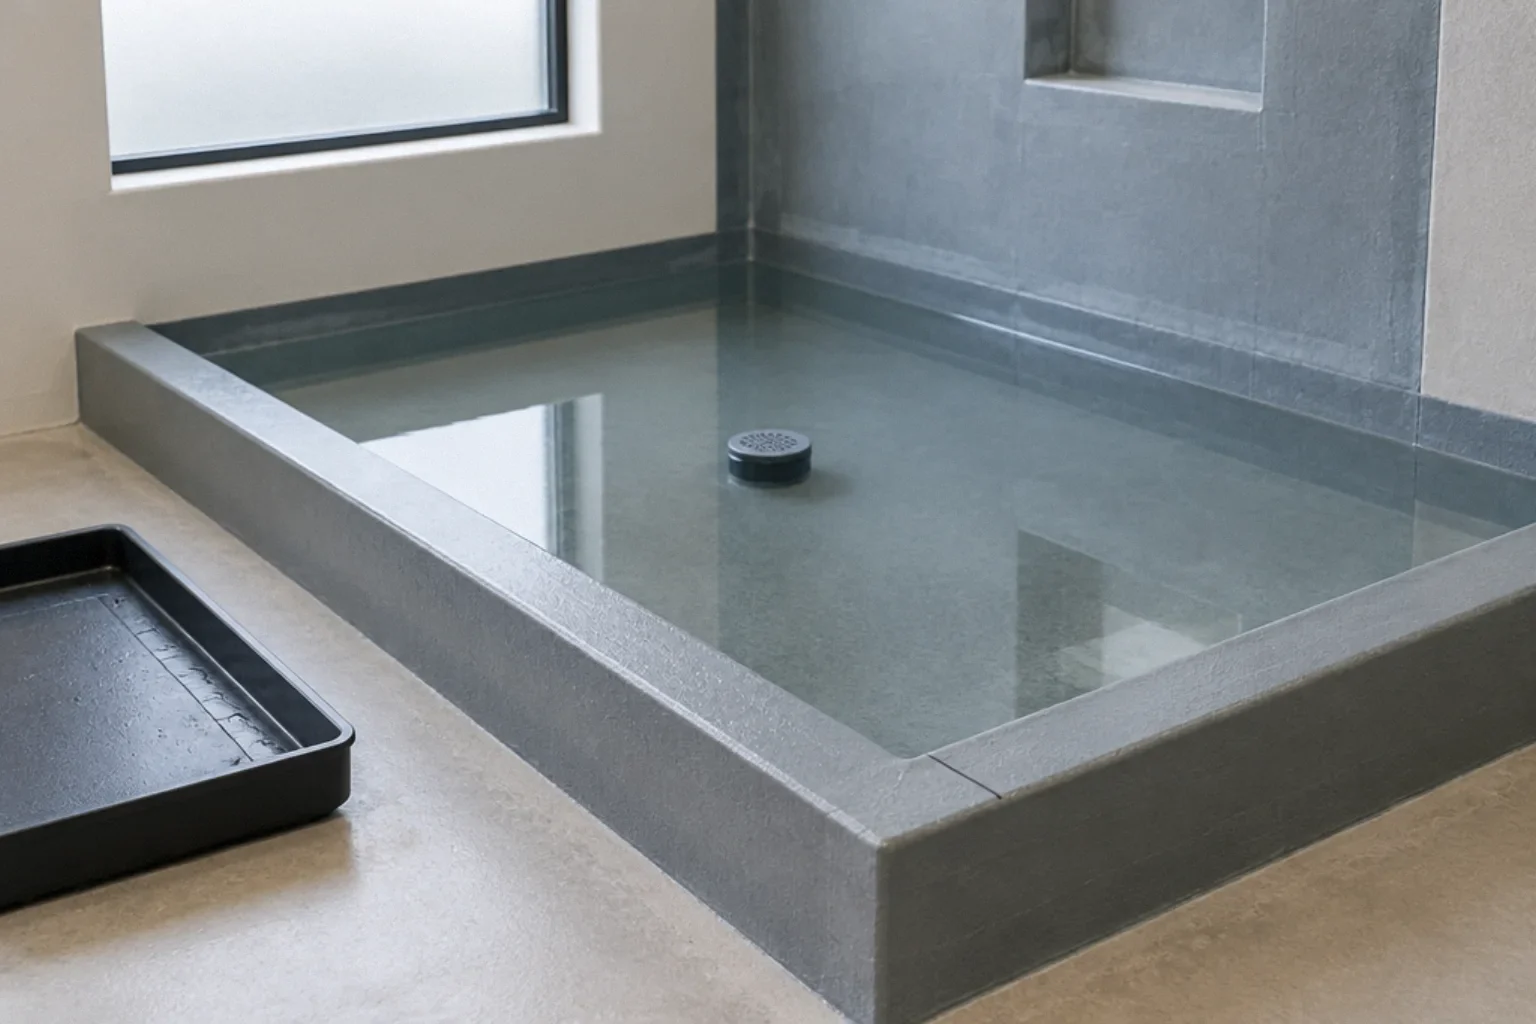
Hidden work is what inspections exist for. In one thread, a homeowner whose newly built shower leaked was told by a commenter that a flood test of the pan, done after the waterproofing but before tile, should be standard, because it lets the waterproofing be fixed without removing tile. Another commenter described their city inspecting the shower pan before tiling could proceed. A San Jose owner found that each inspection brought minor corrections. These are anecdotal accounts. Knowing the sequence helps you plan, avoid covering work too early, and link payments to verified progress.
The typical stages
| Stage | When | What the inspector generally looks at | What you can usefully check |
|---|---|---|---|
| Foundation and footing (additions) | Before concrete is placed | Excavation, forms, reinforcement per approved plans | That the stage is scheduled before any pour |
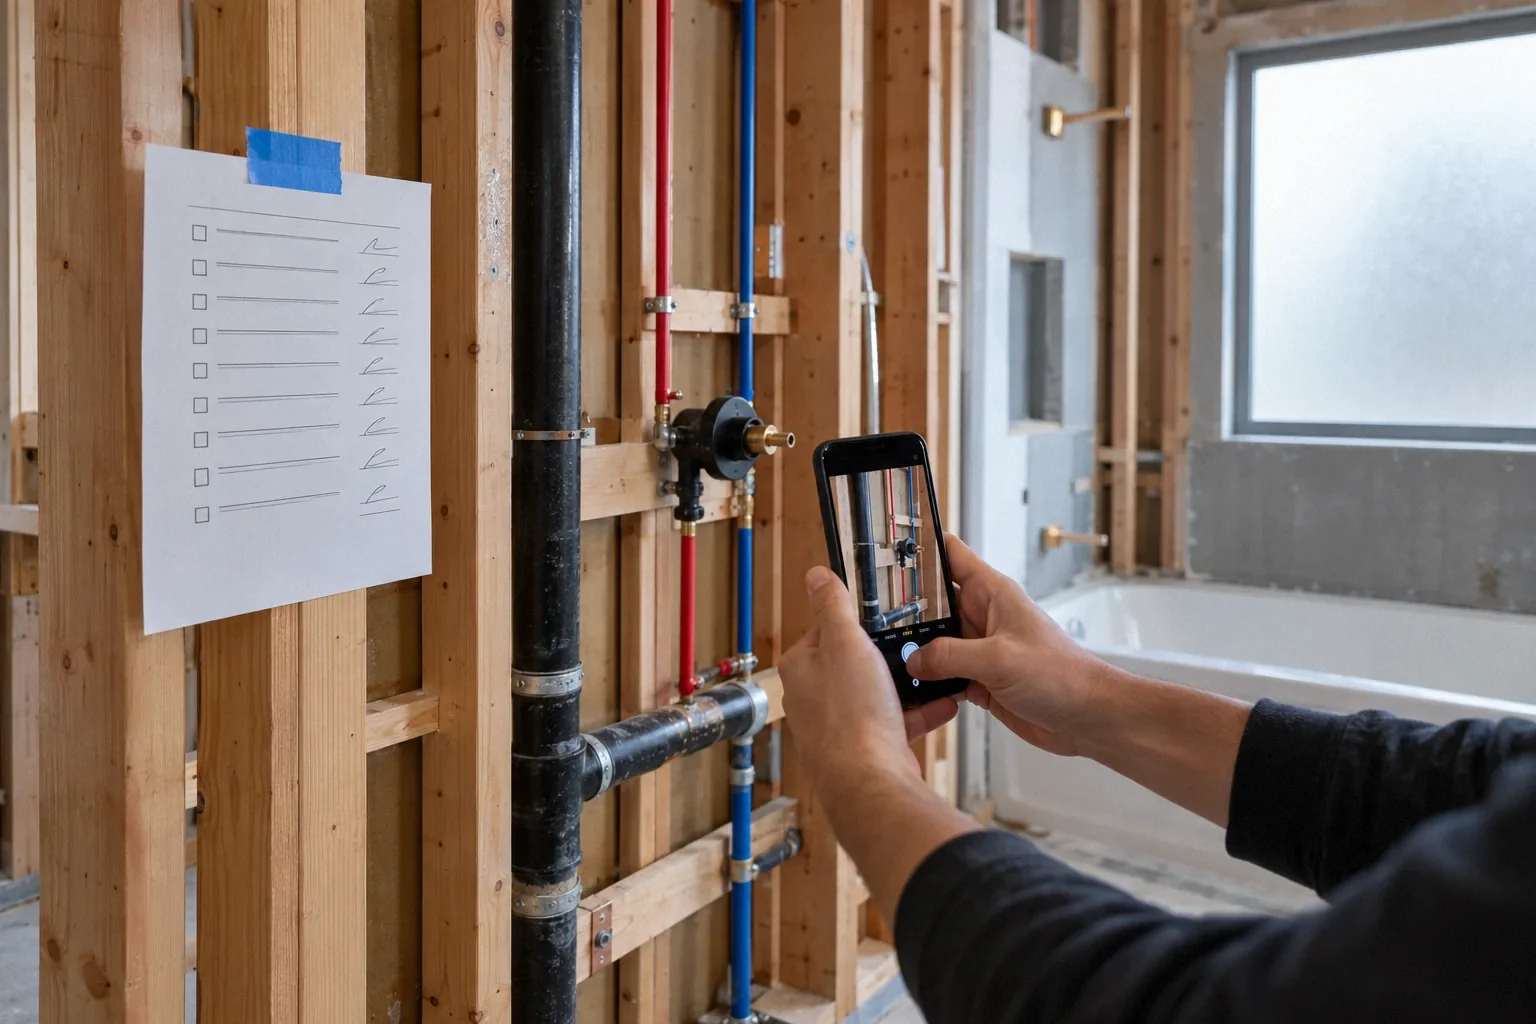
| Rough (framing, plumbing, electrical, mechanical, gas) | Walls and ceilings open, systems installed but not covered | Framing changes; drain, waste and vent piping under test; water lines; gas piping under pressure test; wiring, boxes and protection; duct routes | Photograph every wall and ceiling before cover; confirm outlet and fixture locations match your plan |
| Insulation | After rough approval, before drywall | Insulation installed where required; penetrations sealed | Photos; no gaps around new boxes and pipes |
| Underlayment / shower pan (where required) | After waterproofing or liner, before tile | Liner or membrane installation and any water test the department specifies | Ask for photos of the test setup and result |
| Drywall (some departments, where applicable) | After board installed, before taping | Fire-resistance-rated assemblies where the project includes them. Garage-to-house separation has its own requirements, which are often met with specified gypsum board rather than a rated assembly, and may have its own inspection | Ask whether your project includes a rated assembly or a garage separation, and what the department inspects |
| Final | All work complete | Devices and cover plates; GFCI and AFCI protection; fixtures and appliances; ventilation operating; glazing; required certifications such as fixtures and smoke/CO alarms | Your own punch list; confirm the permit is marked final |
Departments that issue separate trade permits, such as San Francisco for electrical and plumbing (sf.gov), may schedule those inspections separately. Keep track of each permit's status.
Practical rules for every stage
- Approved plans and job card on site. Some departments can charge a reinspection fee if they are missing. As an older local example, Sonoma County's 2003 policy lists this among its fee cases (Permit Sonoma).
- Call only when ready. Calling early wastes a visit and can trigger reinspection fees.
- Never cover unapproved work. Covering work before approval can mean opening it up again.
- Record results. Photograph the signed job card or save portal results after each inspection.
Inspection readiness: a checklist before each request
A readiness check can prevent an avoidable repeat visit. Before the contractor requests an inspection, run through this list together:
- Work complete for the stage: every item the inspector will look at is installed, including the parts that are easy to forget, such as nail plates, fire blocking where required, and the bath fan duct reaching its exterior termination.
- Tests set up: plumbing under the test method the department uses, gas piping under pressure with the gauge readable, and any shower test prepared as specified.
- Documents on site: the permit, the job card, the approved plans with any revisions, and any manufacturer instructions the inspector may want to see, for example for a membrane, a listed fan or a tankless unit.
- Access: a clear path, gates unlocked, pets secured, the work area lit, and a ladder available for ceiling or attic access.
- Someone present: the contractor or the relevant trade, ideally whoever can answer questions about the work. Owners can attend too, but technical questions go to the people who did the work.
- Earlier corrections closed: if a prior notice listed items, have photos showing each one fixed.
Keeping the inspection record
Keep a simple inspection log alongside your permit records:
| Date | Stage | Result | Corrections | Photos / reference |
|---|---|---|---|---|
| Example: day 9 | Rough plumbing and electrical | Not approved | Two items | Notice photo, correction photos |
| Example: day 11 | Rough reinspection | Approved | None | Job card photo |
That record is useful three times: when you release payments, when a dispute arises over what was approved and when, and when you sell, because buyers and their agents may ask for the permit history. Before the final, confirm the department's record matches yours. A permit that was never marked final can cause questions later.
A reinspection handoff example
Hypothetical. A rough inspection is not approved because a vent connection doesn't match the approved plan, and one electrical box lacks protection. The contractor's message to the owner the same afternoon covers four points: what failed, who will fix each item, the date the fixes will be done, and the date the reinspection will be requested. Two days later, before calling for reinspection, the contractor sends photos of both corrections with the original notice. The owner adds them to the log. The reinspection is approved, the payment tied to rough approval is released with a conditional lien release, and drywall begins only after that and any other required pre-cover approvals, including insulation where applicable. Nothing about this is unusual. It just keeps a correction from turning into a dispute.
Using inspections to time payments
Inspection approvals are clear, documented events, which makes them good payment milestones, as long as each payment still matches the value of completed work. For example: a payment after rough approval, another after insulation or drywall, and the final after final approval and punch-list completion, with conditional lien releases each time. See progress payments and final payment.
A worked timeline: bathroom remodel
Hypothetical, for sequence only; durations vary.
- Week 1: demolition to studs. The owner photographs the exposed framing and subfloor. If hidden damage turns up, first check the contract scope. Work already in scope, or damage the contractor caused, is not an extra. Genuinely unforeseen conditions outside the scope go on a written change order before the repair.
- Week 2: plumbing rough-in (valve, drain, vent) and electrical (fan circuit, lighting, GFCI receptacle) installed. Rough inspection requested. Corrections, if any, are made before reinspection.
- Week 3: insulation inspection, where applicable, before any exterior wall or ceiling is closed. Then backer board and the shower waterproofing or liner go in. Cure times and installation sequence depend on the specific product, so follow its instructions rather than a generic schedule. Underlayment and pan inspection where the department requires it, with the water test it specifies. The owner gets photos.
- Weeks 3–4: drywall, then tile once the pan is approved.
- Week 5: fixtures, glass, fan and lighting. Final inspection, with the fixture and alarm certifications the department requires.
- After final: punch list, then final payment with releases. The owner saves the finaled permit record for future sale.
What inspections don't do
- They check code compliance at specific stages, not cosmetic quality or workmanship beyond code. Your punch list and contract cover those.
- They don't replace the contractor's own quality control or manufacturer installation requirements. Product warranties often depend on following those instructions.
- A passed inspection is not a guarantee that nothing will ever fail.
Owner-builders
If you hold the permit as owner-builder, you schedule inspections, meet the inspector and arrange corrections. Have each trade present for its inspection if possible. See owner-builder risks.
Bay Area applicability
Each Bay Area department sets its own inspection list, scheduling system and result reporting under the code edition that applies to your permit, generally the 2025 California codes for applications made on or after 1 January 2026. Read your permit card or portal record for the required stages, and call the inspection desk if a stage is unclear. If something fails, see what to do after a failed inspection.
Current to 3 October 2026.
Questions that come up next
What inspections does a kitchen remodel need?
Typically a rough inspection of framing, plumbing, electrical, mechanical and gas before walls close; insulation if exterior walls or ceilings are opened; drywall only where fire-rated assemblies are involved in some departments; and a final. Your permit lists the exact stages.
Is there an inspection before tile in a shower?
Many departments inspect the underlayment or shower pan, sometimes with a water test, before tile is installed. Ask your department what it requires and its test procedure.
Can my contractor close the walls before the rough inspection?
No. Covering work before approval risks having to open it up again. Wait for the rough approval, and insulation approval where required.
Should I tie payments to inspections?
Inspection approvals are good milestones because they are documented, but each payment must still match the value of completed work or delivered materials under California law.
Sources and further reading
- City of Pleasanton: Residential Kitchen Alteration Requirements (JLA 01.26)
- Contra Costa County: Residential Bathroom Remodel inspections (2022-code brochure)
- San Francisco: OTC permit for interior residential remodel
- Permit Sonoma: Policy 9-3-4 (reinspection fees)
- California Building Standards Commission: Codes
Community questions behind this guide
These discussions identify homeowner concerns. Forum comments are personal accounts, not code or legal authority.